Caldo Tlalpeño is a deliciously nutritious chicken and vegetable soup, perfect for chilly days, served with fresh cheese and chipotle chili pepper on top. And avocado, if you've got some!

This dish is originally from Tlalpan, Mexico, one of the 16 administrative alcaldías or boroughs of Mexico City. It is the largest borough by area but most of it is forested rather than urban. According to Wikipedia, the city still boasts colonial era mansions and cobblestone streets. Frankly, it sounds lovely and totally worth putting on my list of places to visit, even if it didn’t also have a Six Flags amusement park. Which it does!
I love that this caldo is even mentioned in their tourist information. They are rightly very proud of it. What makes it so wonderful, in my opinion, is the fresh tomatoes in the broth. They give it a light, bright flavor, so much better than plain old chicken soup.
Despite photographic evidence to the contrary, I did serve this to my family with the crumbled fresh cheese as well as the required chipotle peppers in adobo sauce, I just completely forgot to put it on when taking the pictures. Some recipes mentioned adding avocados as well but I didn't have any. Add it cubed or sliced when serving, if you do.
Caldo Tlalpeño
I used unsalted homemade chicken stock for this dish so I did season the chicken with a little fine sea salt before poaching it in the stock. If you are using stock with salt, you can skip this step. I give the approximate weights for the vegetables below but know that if you have, say, a little more carrot or fewer green beans, this caldo will still be delicious.
Ingredients
For the chicken:
1 1/2 lbs or 675g boneless, skinless chicken breast
¼ of a medium white onion
1 clove garlic
8 cups or 1.9L chicken stock
1/2 teaspoon fine sea salt
For the caldo:
2 tablespoons canola or other light oil
4 medium carrots (about 13 oz or 370g)
1/4 white onion (
3 tomatoes (about 1 lb or 450g)
1 clove garlic
5 oz or 142g green beans
1 can (16 oz or 454g) chickpeas, drained and rinsed
2 sprigs coriander
4 epazote leaves (These are apparently a traditional ingredient and I was lucky enough to find some at my nearby Fiesta supermarket. If you can’t put your hands on some, just add a little more cilantro.)
To garnish:
Crumbled fresh cheese
Chipotle peppers in adobo sauce
(Avocado is also recommended but as I mentioned above, I didn't have any.)
Method
Season the chicken breasts with the salt (if using a salt free stock - see note above) and set aside for a few minutes. Cut the onion into thick slices and smash the garlic clove with the side of a large knife.

Add the onion and garlic to a large pot along with the chicken. Pour in the stock and bring it to a soft boil over a medium flame.

Turn the fire down to simmer, put the lid on your pot and cook the chicken for 45 minutes.
Remove the chicken from the pot and set aside until it is cool enough to handle. Use two forks to shred it.

Strain the broth into a heatproof bowl and discard the onion slices and garlic.
Finely chop the onion and peel and slice the carrots. Core and chop the tomatoes. Cut the green beans into bite-sized pieces.

Add the oil to the pot and sauté the chopped onions and the carrots for about 10 minutes or until the onions are translucent and the carrots are starting to soften. I find the carrots cook faster if I put the lid on the pot so you might want to do the same. Just don’t forget to stir occasionally.

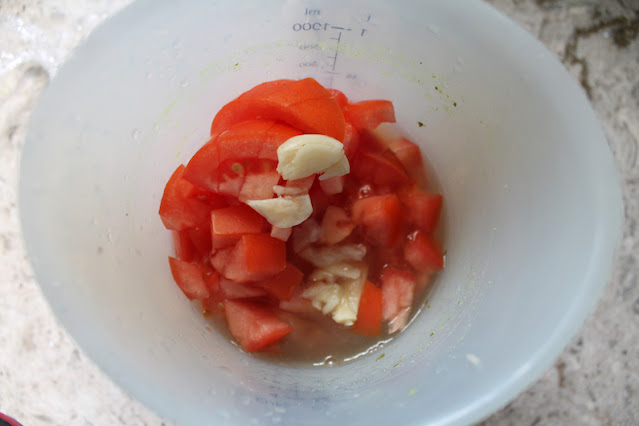
While the onion and carrots are cooking, place the tomatoes and garlic in the blender with a cup of the strained chicken broth. I have a hand blender so I popped mine in the hand blender vessel and whizzed them smooth with it.
Add the tomatoes to the onion and carrots.
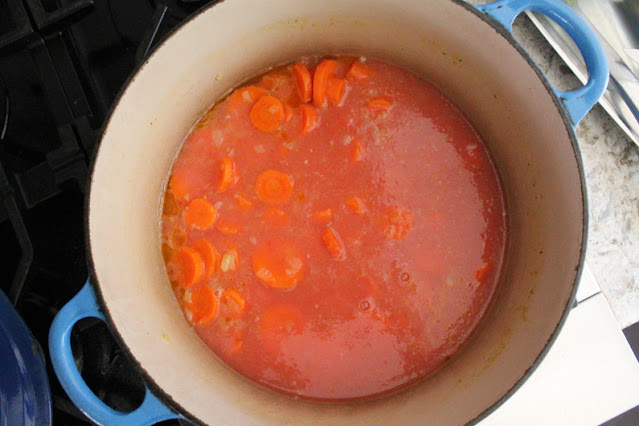
Cook over a low heat for about 12 minutes or until the carrots are tender. At minute 8, add in the green beans. Give it a good stir.

When the beans are just about cooked through, add the rest of the reserved chicken broth, chickpeas, epazote, cilantro, and shredded chicken.

Cook over low heat for 6 more minutes. Season with salt, if needed.
To serve, spoon the chicken and vegetables into bowls. Top with broth. Serve the cheese and chipotles in small plates at the table so that everyone can add what they’d like to their bowls. It is traditional to add one chipotle pepper to each bowl!

Enjoy!
It’s Sunday FunDay and my friends and I are sharing Mexican dishes to commemorate The Day of the Dead (el Día de los Muertos), a Mexican holiday where families welcome back the souls of their deceased relatives for a brief reunion that includes food, drink and celebration. Check out all the links below! Many thanks to our host, Camilla of Culinary Adventures with Camilla.
- Atola - East Indian by Sneha's Recipe
- Caldo Tlalpeño by Food Lust People Love
- Dia de Los Muertos Sugar Skull Cake by Amy’s Cooking Adventures
- Enfrijoladas de Pollo by A Day in the Life on the Farm
- Fiambre Rojo for Día de los Muertos by Culinary Adventures with Camilla
- Pan de Muerto (Mexican Day of the Dead Bread) by Karen's Kitchen Stories
- Pan Seared Tilapia with Shrimp by Palatable Pastime
- Taco Casserole by Making Miracles
- Vegetarian Tortilla Soup by Mayuri's Jikoni

We are a group of food bloggers who believe that Sunday should be a family fun day, so every Sunday we share recipes that will help you to enjoy your day. If you're a blogger interested in joining us, just visit our Facebook group and request to join.
Pin this Caldo Tlalpeño!

.