Monday, May 10, 2021

Garlic Browned Butter Parmesan Roasted Asparagus

This Garlic Browned Butter Parmesan Roasted Asparagus is a most wonderful side dish or even appetizer. Set the dish out and let guests help themselves to spear after spear. They'll be gone in a jiffy. 

Food Lust People Love: This Garlic Browned Butter Parmesan Roasted Asparagus is a most wonderful side dish or even appetizer. Set the dish out and let guests help themselves to spear after spear. They'll be gone in a jiffy.

According to Miss Manners and Emily Post, asparagus is legitimately finger food. One of my favorite ways to eat it is cooked but still crunchy to dip in a soft-boiled egg. Runny egg yolk and buttered asparagus with lemon = yum! It’s like deconstructed Hollandaise sauce. (Make a note now and try it!) Who needs toast soldiers? 

These days asparagus seems to be available year round, flown in from somewhere (mostly Peru, it seems, which makes sense since they terrace-farm up the mountain sides so it's like a different temperature/season as the altitude changes) but I do particularly enjoy buying it during springtime when it comes from farms closer to home. 


Garlic Browned Butter Parmesan Roasted Asparagus

You can use the Parmesan that comes in the plastic shaker container for this dish but I don’t think it melts as effectively the kind freshly grated from a wedge. Either way, keep a close eye on in as it browns. 

Ingredients
1 lb or 450g asparagus spears, woody ends trimmed
Olive oil
Salt and pepper to taste
3 tablespoons butter
2 cloves garlic, mashed then minced
1 tablespoon fresh squeezed lemon juice
2 oz or 56g freshly grated Parmesan

Method
Preheat your oven to 425°F or 220°C.

Arrange asparagus in a single layer on a baking pan. Drizzle with a little olive oil and season with salt and freshly ground black pepper. 


Roast in preheated oven until vibrant in color and tender-crisp, about 10 minutes).

While the asparagus is in the oven, brown the butter. Melt the butter in a small pot over medium heat, stirring constantly. The milk solids will separate and then start to brown. Cook, still stirring, until the butter is golden colored with browned bits at the bottom. 


Take it off the heat and quickly stir in the minced garlic. 


Add the lemon juice and stir to combine. 


Remove the asparagus pan from the oven and turn the oven to broil (grill) on high. 

Spoon the garlicky browned butter over the asparagus and toss to coat. 


Cover with the grated Parmesan. 


Return the pan to the oven for a few minutes, watching it carefully so it doesn’t burn. You just want to see the cheese and asparagus turned a little golden in places. 

Food Lust People Love: This Garlic Browned Butter Parmesan Roasted Asparagus is a most wonderful side dish or even appetizer. Set the dish out and let guests help themselves to spear after spear. They'll be gone in a jiffy.

Enjoy!

Food Lust People Love: This Garlic Browned Butter Parmesan Roasted Asparagus is a most wonderful side dish or even appetizer. Set the dish out and let guests help themselves to spear after spear. They'll be gone in a jiffy.

This month my Baking Bloggers are sharing asparagus recipes and I want to make them ALL. Check out the links below. Many thanks to our organizer and host, Sue of Palatable Pastime

Baking Bloggers is a friendly group of food bloggers who vote on a shared theme and then post recipes to fit that theme one the second Monday of each month. If you are a food blogger interested in joining in, inquire at our Baking Bloggers Facebook group. We'd be honored if you would join us in our baking adventures.

Pin this Garlic Browned Butter Parmesan Roasted Asparagus!

Food Lust People Love: This Garlic Browned Butter Parmesan Roasted Asparagus is a most wonderful side dish or even appetizer. Set the dish out and let guests help themselves to spear after spear. They'll be gone in a jiffy.


 .

Sunday, May 9, 2021

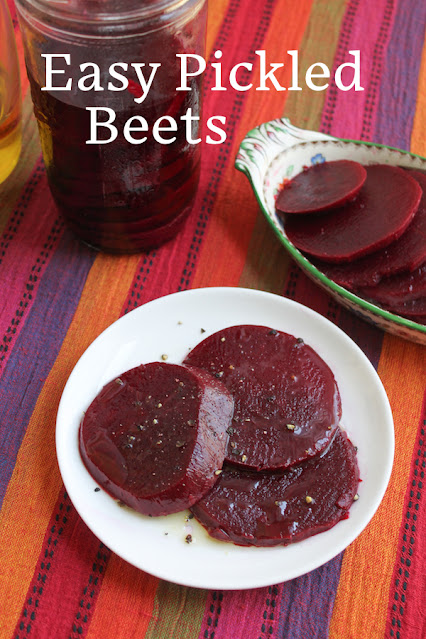
Easy Pickled Beets

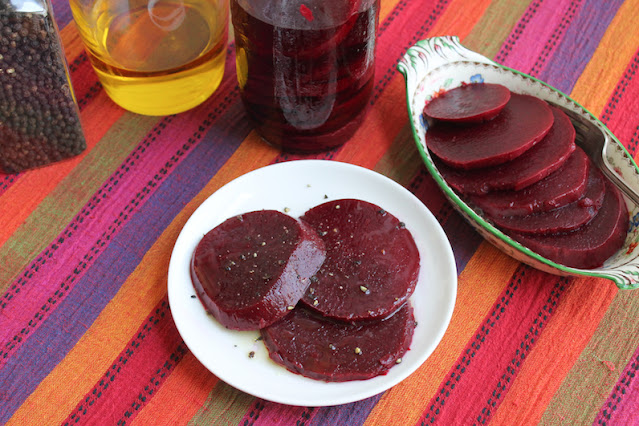
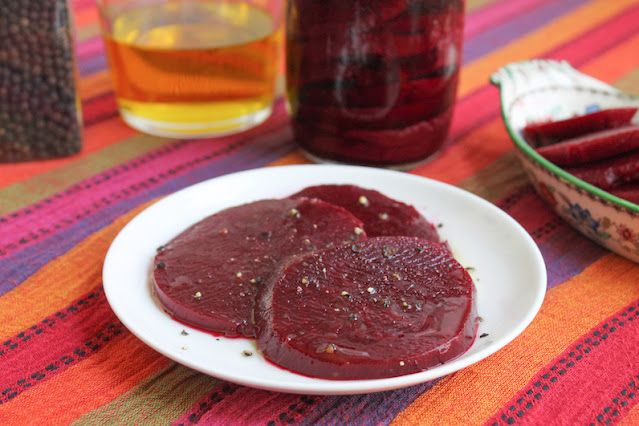
These easy pickled beets are ready to eat in hours or will keep well chilled for weeks! Enjoy them straight from the jar or drizzled with olive oil and a sprinkle of black pepper, salad style. 

Food Lust People Love: These easy pickled beets are ready to eat in hours or will keep well chilled for weeks! Enjoy them straight from the jar or drizzled with olive oil and a sprinkle of black pepper, salad style.

I have a confession to make and at the same time, a warning. I made these pickled beets one year ago, popped them into our laundry room refrigerator and promptly forgot about them. I think we can all agree that May 2020 was a bit fraught and I guess I had other things on my mind. 

When the Sunday FunDay theme of beets was announced, I suddenly thought, “Hey, I made pickled beets! Did I ever eat them?” The auxiliary refrigerator was searched and lo and behold, the quart jar of pickled beets turned up. 

The question remained, would they be edible? I am here to tell you that they were fabulous. I could not have told you that they were a year old! In fact, they tasted just like the ones I’ve made then eaten within a week or two. Did I just get lucky? Who knows? So here’s the warning: If you go off and leave yours in the fridge for more than a few weeks, your results may vary. 

Easy Pickled Beets

My top tip for making these pickled beets is to choose ones that about the size of your quart jar in the middle so that they fit fairly snugly. Smaller beets may need more vinegar to fill the space and ensure that the beet slices are completely covered. For the pickling to work well, the beets do have to be completely covered.

Ingredients for 1 quart jar of pickled beets
2 medium beets 
2/3 cup or 156ml white vinegar (or more to cover the beets, if needed)
3/4 teaspoon fine sea salt

Equipment
1 wide-mouthed quart jar or other tight sealing container

Method
In a large pot, cover the whole beets with water and cook until a knife slides in easily to the middle. Remove the beets from the pot and set aside until they are cool enough to handle. 

Use your fingers to press the peels off of the beets and cut any hard ends or bad spots off with a sharp knife. The peels will slide right off. If beet stains bother you, use gloves for this step 


Use the same knife to slice the beets into circles.


Stack the beet circles in the wide-mouthed quart jar, tucking the smaller ends down the side.


Heat the white vinegar with the salt until it reaches about 130°F or 54°C. 

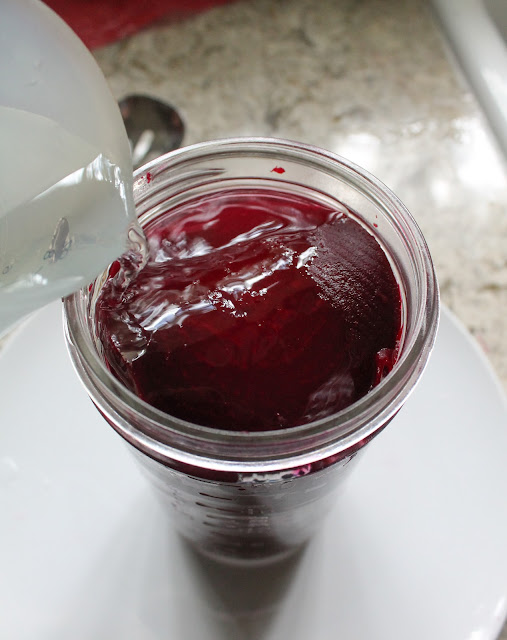
Pour the vinegar carefully into the jar so it can seep slowly down filling up all the spaces between the beets. Check around the sides. If there are air bubbles, you can run a wooden skewer or chopstick down the inside of the jar, allowing the vinegar to flow down and the trapped air bubbles to escape up. 

Food Lust People Love: These easy pickled beets are ready to eat in hours or will keep well chilled for weeks! Enjoy them straight from the jar or drizzled with olive oil and a sprinkle of black pepper, salad style.

When the jar is completely full, put the lid on tightly and refrigerate the pickled beets for at least several hours before serving. These will keep for several weeks in the refrigerator. 

Food Lust People Love: These easy pickled beets are ready to eat in hours or will keep well chilled for weeks! Enjoy them straight from the jar or drizzled with olive oil and a sprinkle of black pepper, salad style.

Enjoy! 

Food Lust People Love: These easy pickled beets are ready to eat in hours or will keep well chilled for weeks! Enjoy them straight from the jar or drizzled with olive oil and a sprinkle of black pepper, salad style.


As I mentioned before, this week's Sunday FunDay theme is beets, one of my favorite vegetables. Check out all the links below! Many thanks to our host, Mayuri of Mayuri's Jikoni.

We are a group of food bloggers who believe that Sunday should be a family fun day, so every Sunday we share recipes that will help you to enjoy your day. If you're a blogger interested in joining us, just visit our Facebook group and request to join.


Pin these Easy Pickled Beets!

Food Lust People Love: These easy pickled beets are ready to eat in hours or will keep well chilled for weeks! Enjoy them straight from the jar or drizzled with olive oil and a sprinkle of black pepper, salad style.

 .

Wednesday, May 5, 2021

Simple Strawberry Vodka

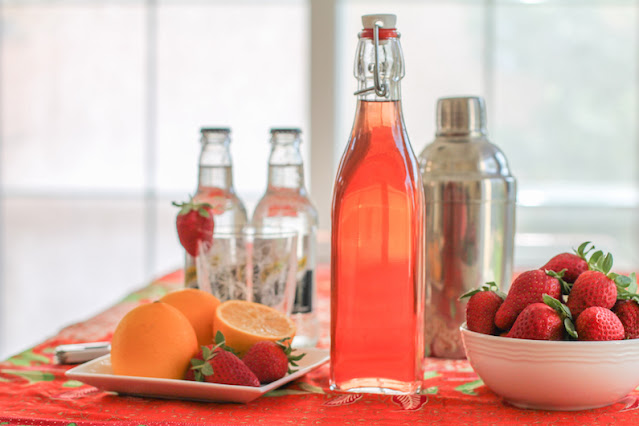
This slightly sweet simple strawberry vodka is best served well chilled in shot glasses or as a cocktail ingredient. It makes a fabulous sparkling libation with Champagne or soda. 

Food Lust People Love: This slightly sweet simple strawberry vodka is best served well chilled in shot glasses or as a cocktail ingredient. It makes a fabulous sparkling libation with Champagne or soda.

One of the easiest ways to preserve the fresh taste of strawberries is to “pickle” them in alcohol. The strawberries transfer their sweet flavor and gorgeous color to your alcohol of choice in just a couple of weeks. 

Speaking of preserving fruit, jam is one of my favorite things to make with whatever fruit is in season. And I always wash and freeze strawberries and blueberries in a single layer then pop them into a Ziploc bag to extend their seasons. But I wanted to challenge myself to do something different this time. 

I had no idea how easy it would be to make strawberry vodka!

As it turns out, it’s really not much of a challenge at all. You can make straight strawberry vodka by cutting up the strawberries and tipping them into vodka but I chose to add some sugar too so I wouldn’t have to add simple syrup for cocktails. It was a good decision.

Simple Strawberry Vodka

This fruity vodka can also be made with other berries like blackcurrants or cranberries, or any soft fruit really, come to think of it.

Ingredients
9 oz or 255g fresh strawberries
2 1/2 cups or 590ml vodka
1/2 cup or 100g sugar

Method
Hull and chop the strawberries into four or five pieces.


Put them in a sterilized jar with the sugar. Add the vodka and strawberries and shake gently till the sugar has dissolved.


Leave for at least two weeks in a cool, dark cupboard. Give the jar a gentle shake at least once a day.


Strain through several layers of cheesecloth or a single ply of paper towel and decant into a decorative bottle. Discard the poor pale strawberries which have given their all that we might have fruity vodka. 

Seal and label.


Isn’t it a beautiful color?

Food Lust People Love: This slightly sweet simple strawberry vodka is best served well chilled in shot glasses or as a cocktail ingredient. It makes a fabulous sparkling libation with Champagne or soda.

Enjoy!

It’s time for another Foodie Extravaganza party and we are celebrating National Strawberry Month with all sorts of great recipes. Check them out! Many thanks to our host Kelley of Simply Inspired Meals for the theme and to Sneha of Sneha's Recipe for her behind-the-scenes work. 


Foodie Extravaganza is where we celebrate obscure food holidays by cooking and baking together with the same ingredient or theme each month. Posting day is always the first Wednesday of each month. If you are a blogger and would like to join our group and blog along with us, come join our Facebook page Foodie Extravaganza. We would love to have you! If you're a spectator looking for delicious tid-bits check out our Foodie Extravaganza Pinterest Board.


Pin this Simple Strawberry Vodka! 

Food Lust People Love: This slightly sweet simple strawberry vodka is best served well chilled in shot glasses or as a cocktail ingredient. It makes a fabulous sparkling libation with Champagne or soda.
.